
Photo Tutorial: Scarf Style
Last week I wore my hair wrapped in a scarf in a post I titled Brown on Brown and received a request for a tutorial on that 'do. Now, I'm warning you, I'm no tutorial professional, but since it's a pretty easy style I thought I'd give it a whirl.


With this style, like me, you may find your appearance utterly transformed. And, if your hair looks something like mine does when it's left to its own devices, you will be glad at the transformation.
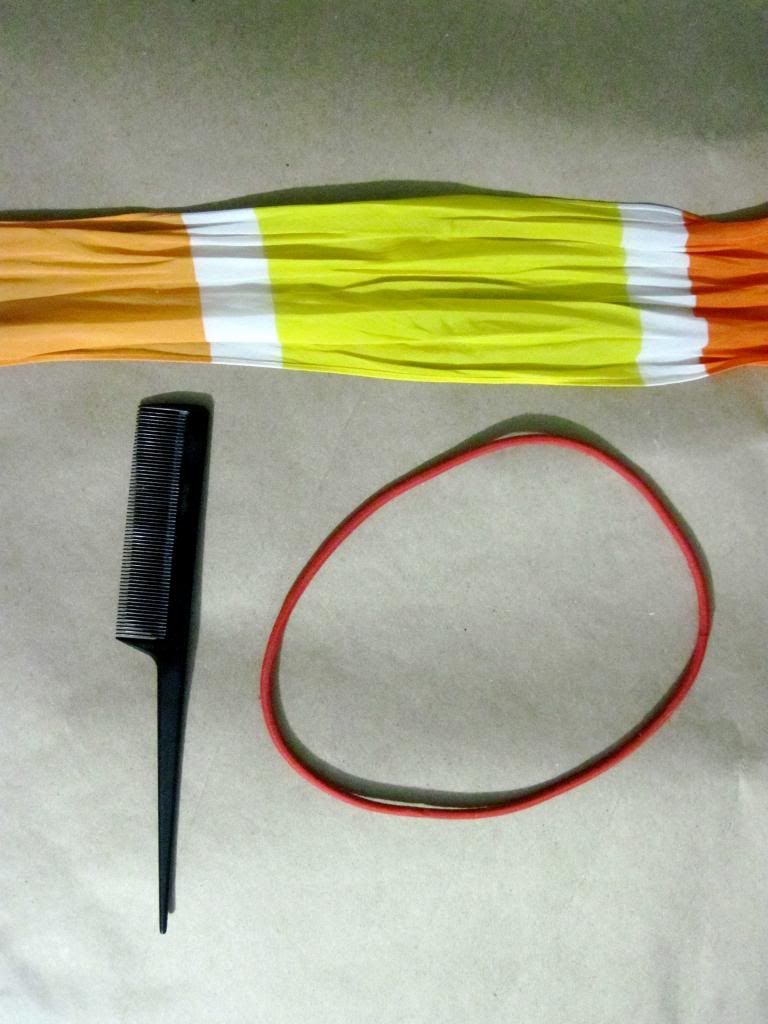
What you will need to begin this style is a comb or brush, an elastic headband (round or otherwise) and a scarf; the thicker your hair the wider your scarf should be (note: mine is not quite wide enough to accomplish the look I had last week).
Before you begin you will need to make sure your hair is brushed (or combed) out and parted in whatever way flatters your pretty face the most. My default part is a side part; I have not tried this on a center part.
Step One: The Headband
I've chosen to use a red headband in hopes that it will be more visible in my unruly hair. Instead of putting the headband over your head and pulling it up around your head, as you normally would to hold back bangs, the headband is placed on your head like a crown.
Step Two: The Front
Beginning along the forehead, take small sections of hair and pull them over the headband, as to cover it, and then tuck it in to the headband. Use a comb on each section to create a more polished appearance.
Move to the other side of your part and continue to tuck hair over and into the headband. Don't worry if the headband is visible at your part, the scarf will cover it.
Here, I'll stop moving around so you can see what I've done so far:
Step Three: The Back
I usually split the back into three sections and tuck them around the headband, center section last. Don't worry if this is messy, you will be covering it with the scarf.
If you have very silky or straight hair, you might want to put a few bobby pins in around the headband to keep things in place. Your hair will get some support from the scarf.
Sometimes I stop at this point and just adjust my hair to cover the headband. It's kind of a pretty style all on its own, especially if it's done in a tidier fashion.
Step Four: The Scarf, Part I
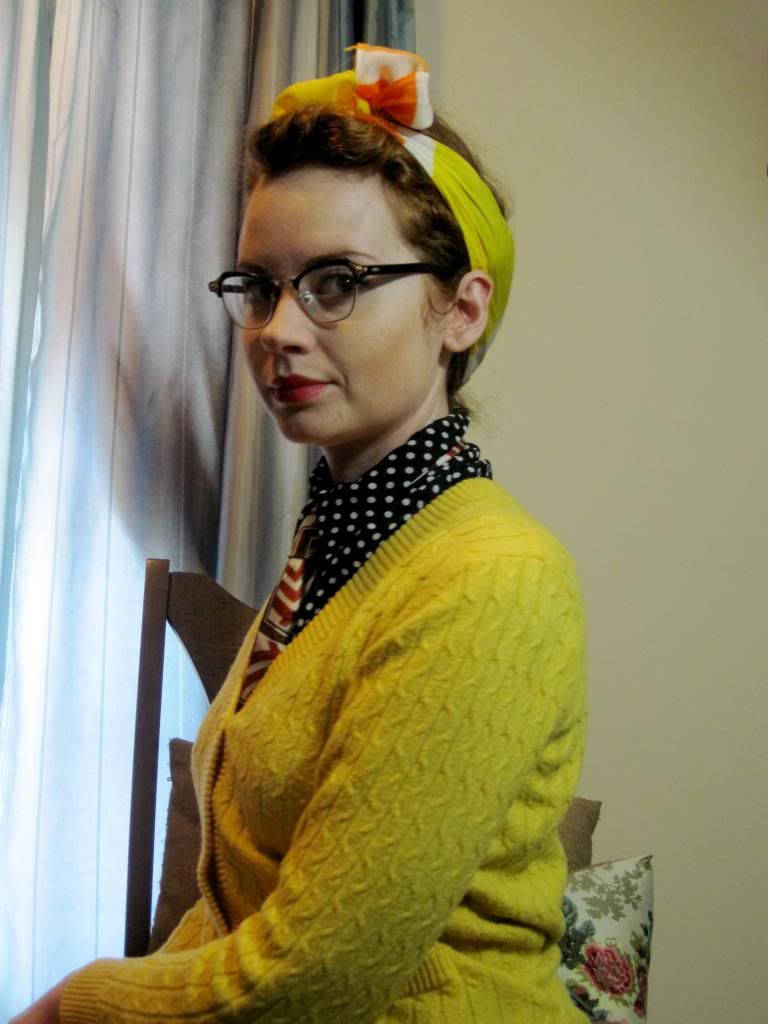
Tie the scarf around your head making sure that it is lying flat (not twisted) and spread out around the back of your head. Also be sure you are covering the headband with your scarf. Tie scarf at top of head; the longer your scarf, the larger the bow will be on the top of your head. Bow, simple knot? It is up to you how you tie the scarf, I opted for a bow.
Step Five: The Scarf, Part II
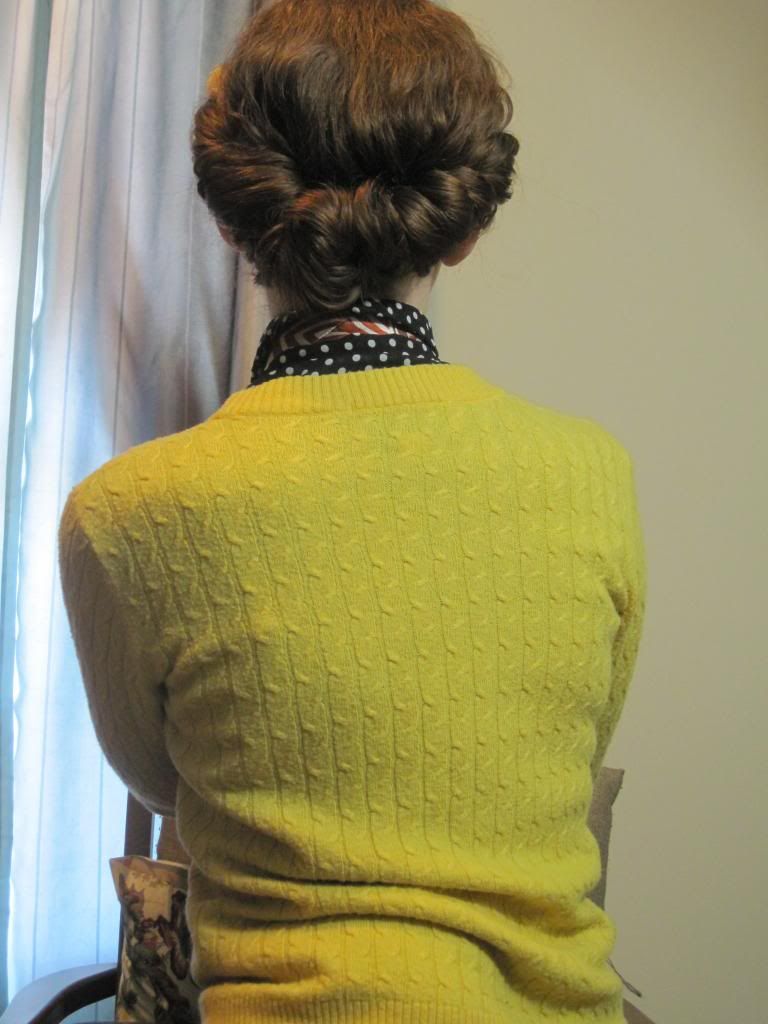
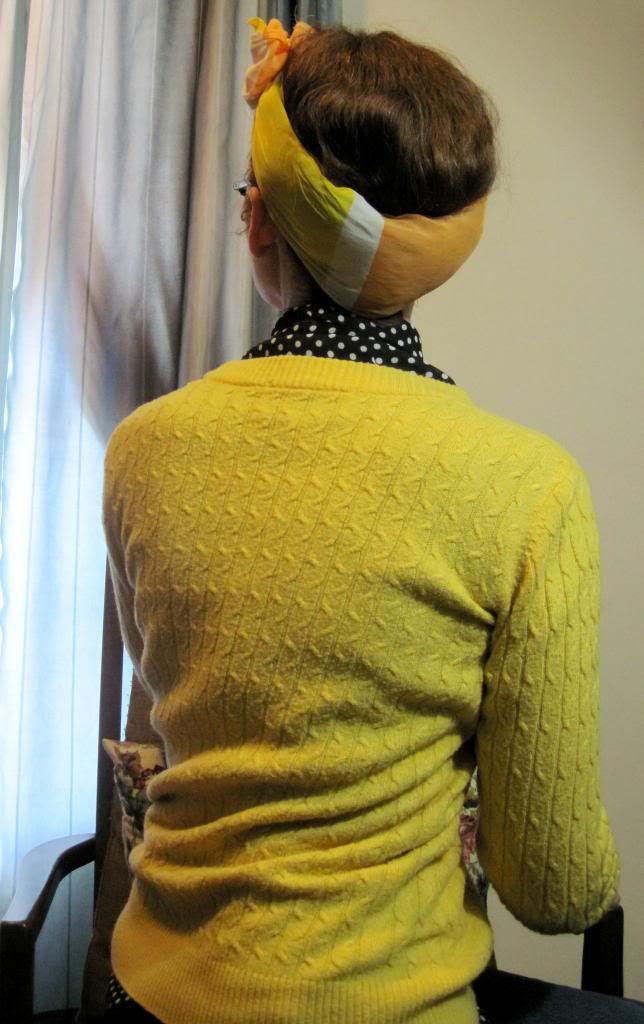
Now move to the back of your head and make sure the scarf has been spread flat across the large portion of hair your tucked into the headband. Position the scarf so the bottom edge lies along your hair line, and the top edge lies above the headband. Begin tucking the scarf into the headband, right in with the hair you've already tucked in there. Work your way along the headband for as long as you like. The goal here is to create the appearance of having your hair contained by the scarf- like the scarf is a snood.
As I mentioned before, I should have used a wider scarf as this one did fully encompass my hair.
My 'do from last week was a bit more successful in this respect.
Step 6: Admire Your Work
For my hair type (wild and unruly), this is a pretty simple and easy style as the hair holds itself in place when I wrap it around the headband, however, I do acknowledge that this might be more difficult for those who have hair that will insist on slipping out of the headband. My advice to you, if you'd like to replicate this 'do, is simple trial and error; find what works for you!
I'm looking forward to using this style this summer, it's a nice way to keep the hair off my neck when my hair isn't styled or wrapped up in a set. Now I just need some more scarves!
I hope this has at least given you an idea of how I achieved this style so that you may give it a go yourself! If you do try your hand at this, or a variation on this 'do, please share! I'd love to see what you come up with, especially if you're less "hair challenged" than me :)
Wishing you a wonderful weekend, good hair days, and, of course,
Happy Sailing!

